Download the PHP package vgalvoso/phunctional without Composer
On this page you can find all versions of the php package vgalvoso/phunctional. It is possible to download/install these versions without Composer. Possible dependencies are resolved automatically.
FAQ
Example:

In general, it is recommended to use always a project to download your libraries. In an application normally there is more than one library needed.

- Some hosting areas are not accessible by a terminal or SSH. Then it is not possible to use Composer.
- To use Composer is sometimes complicated. Especially for beginners.
- Composer needs much resources. Sometimes they are not available on a simple webspace.
- If you are using private repositories you don't need to share your credentials. You can set up everything on our site and then you provide a simple download link to your team member.
- Simplify your Composer build process. Use our own command line tool to download the vendor folder as binary. This makes your build process faster and you don't need to expose your credentials for private repositories.
Informations about the package phunctional
PHunctional PHP
Functional PHP Framework
Introduction
PHunctional PHP is a functional PHP framework.
Today's development uses complicated or too much abstraction of codes, it doesn't have to be that way.
Doesn't it cool to easily know what the code does in one look?
Doesn't it cool to focus on the output rather than wasting your time on technical stuffs?
Doesn't it cool to use a framework immediately without overwhelming configurations and dependencies?
This is what PHunctional PHP is all about.
Structure
Here is the basic directory structure of PHunctional PHP.
Installation
Download the latest version and extract it on your web server's root folder.
Then rename the extracted root folder into your project's name.
Or use composer:
After extracting or creating your project, open a terminal in your project directory and run:
This will initialize Composer to let you add dependencies when needed.
Build Your First App
Hello World! Yes, let's create your first hello world using PHunctional PHP.
After you download and extract the latest version (see installation), create a PHP file inside the view folder and name it hello_world.php.
Let's assume you named your root folder "helloworld", this is what your project directory might look like.
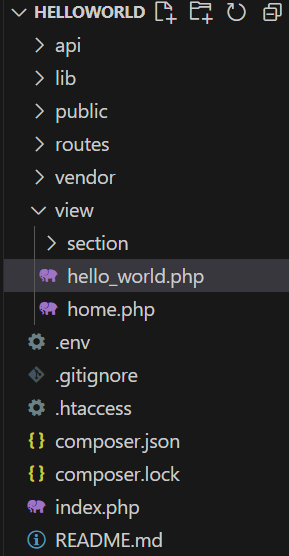
Copy and paste this code inside hello_world.php:
Open routes/web.php and add a new view route. Your routes/web.php should look something like this:
Now try to access this on your browser: http://localhost/helloworld/hello
It should look like this:
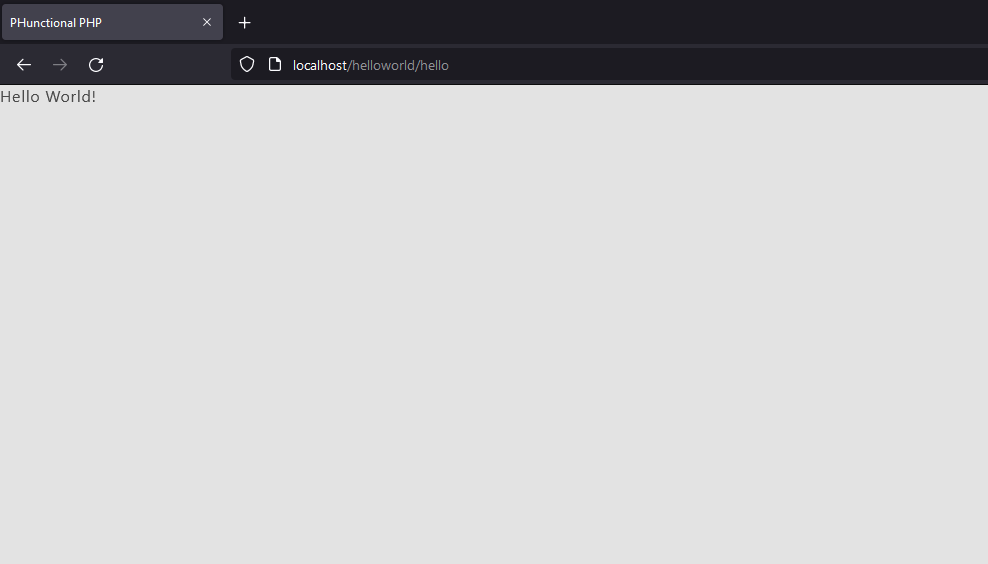
Congratulations! You created your first hello world using PHunctional PHP.
Routing
Define your routes inside routes/web.php for views and routes/api.php for API endpoints.
There are 4 functions for creating routes:
-
view(routeName, fileName)
Use this function to show views.[routeName]- Custom named route.[fileName]- File to call inside view folder.
-
post(routeName, fileName)
Use this function for POST requests.[routeName]- Custom named route.[fileName]- File to call inside api folder.
-
get(routeName, fileName)
Use this function for GET requests.[routeName]- Custom named route.[fileName]- File to call inside api folder.
- put(routeName, fileName)
Use this function for PUT requests.[routeName]- Custom named route.[fileName]- File to call inside api folder.
Sample routes/web.php:
Sample routes/api.php:
The notFound() function should be placed at the end to handle unmatched routes.
Views
Place your views inside the view folder.
Let's create a view for our default route.
view/home.php
Database Setup
PHunctional PHP uses a simple Database.php file for database connections. Configuration is managed via the .env file.
1. Configure .env
Add your database credentials to the .env file in your project root:
2. Using Database.php
Here is a sample lib/Database.php file:
This file loads the database credentials from environment variables and stores them in the $db array.
Creating an API
You can easily create API endpoints in PHunctional PHP by adding files inside the api folder and defining routes in routes/api.php.
1. Create a Sample Database
First, create a sample database and a users table. You can run the following SQL queries in your MySQL client:
2. Create api/add_user.php
Create a new file api/add_user.php with the following code to handle adding a user:
Note: In PHunctional PHP, POST payload keys are automatically converted into variables, so you can use
$username,$passworddirectly. No need to use$_POSTor$_GET.Note: The
$sqlobject is automatically available and uses the "default" database configuration fromDatabase.php. If you want to use a different configuration, you can initialize it with$sql = new Sql('configname');.
3. Add the Route in routes/api.php
Open routes/api.php and add the following line:
Now you can send a POST request to /users with username, email, and password in the JSON body to add a new user.
