Download the PHP package nguyendachuy/laravel-menu without Composer
On this page you can find all versions of the php package nguyendachuy/laravel-menu. It is possible to download/install these versions without Composer. Possible dependencies are resolved automatically.
FAQ
Example:

In general, it is recommended to use always a project to download your libraries. In an application normally there is more than one library needed.

- Some hosting areas are not accessible by a terminal or SSH. Then it is not possible to use Composer.
- To use Composer is sometimes complicated. Especially for beginners.
- Composer needs much resources. Sometimes they are not available on a simple webspace.
- If you are using private repositories you don't need to share your credentials. You can set up everything on our site and then you provide a simple download link to your team member.
- Simplify your Composer build process. Use our own command line tool to download the vendor folder as binary. This makes your build process faster and you don't need to expose your credentials for private repositories.
Informations about the package laravel-menu
Laravel Drag and Drop menu
Important Notice: Major Upgrade Available
We're excited to announce a major upgrade of Laravel Drag and Drop Menu Builder available on the upgrade-version branch. This version adds significant new features and improvements, especially comprehensive multilingual support.
New Features and Improvements
- Complete Multilingual Support: User interface and system messages translated into multiple languages (currently English and Vietnamese)
- Migration from Bootstrap to Tailwind CSS: Completely redesigned interface with Tailwind CSS, providing a more modern and flexible experience
- Mega Menu Support: Create mega menus with custom content
- Advanced JavaScript Integration: Translation system integrated into JavaScript, allowing messages to be displayed in the user's language
- Improved UX/UI: Modern interface with intuitive drag-and-drop feedback
- Performance Optimization: Improved performance with caching system and query optimization
- Robust Error Handling: Comprehensive validation and error recovery system
- Critical Bug Fixes: Fixed issues including Menu Name and Menu Class not updating when clicking Update Menu
How to Use the upgrade-version Branch
Option 1: Direct Git Checkout
Option 2: Using Composer (Recommended for Projects)
Update your composer.json file to use the upgrade-version branch:
Then run:
Database Updates
The new version adds columns for the Mega Menu feature. Run migrations to update your database structure:
The migration will add the following columns to the menu_items table:
is_mega_menu(boolean): Determines if an item is a mega menumega_menu_content(text): Stores the HTML content of the mega menu
Updating Resources
The new version includes many changes to config, views, and public files. Run the following command to update:
Important Note: Using --force will overwrite any customizations you've made. If you've customized files, back them up before running these commands.
Important Note
The upgrade-version branch has not yet been merged into master to avoid affecting current users. We encourage you to test this branch in a development environment before applying it to production projects.
Feedback and contributions are welcome to help us improve this package before the official release.
Please refer to the README.md in the upgrade-version branch for complete details on new features and usage instructions.
Installation
-
Run
-
Run publish
- Configure (optional) in config/menu.php :
- CUSTOM MIDDLEWARE: You can add you own middleware
- TABLE PREFIX: By default this package will create 2 new tables named "menus" and "menu_items" but you can still add your own table prefix avoiding conflict with existing table
- TABLE NAMES If you want use specific name of tables you have to modify that and the migrations
- Custom routes If you want to edit the route path you can edit the field
- Role Access If you want to enable roles (permissions) on menu items
- CACHE ENABLED: Set this to
trueif you want to enable caching for menu items. Default isfalse. - CACHE KEY PREFIX: The prefix to use for cache keys. Default is
'menu'. - CACHE TTL: The time-to-live (in minutes) for cached menu items. Default is
60.
- Run migrate
DONE
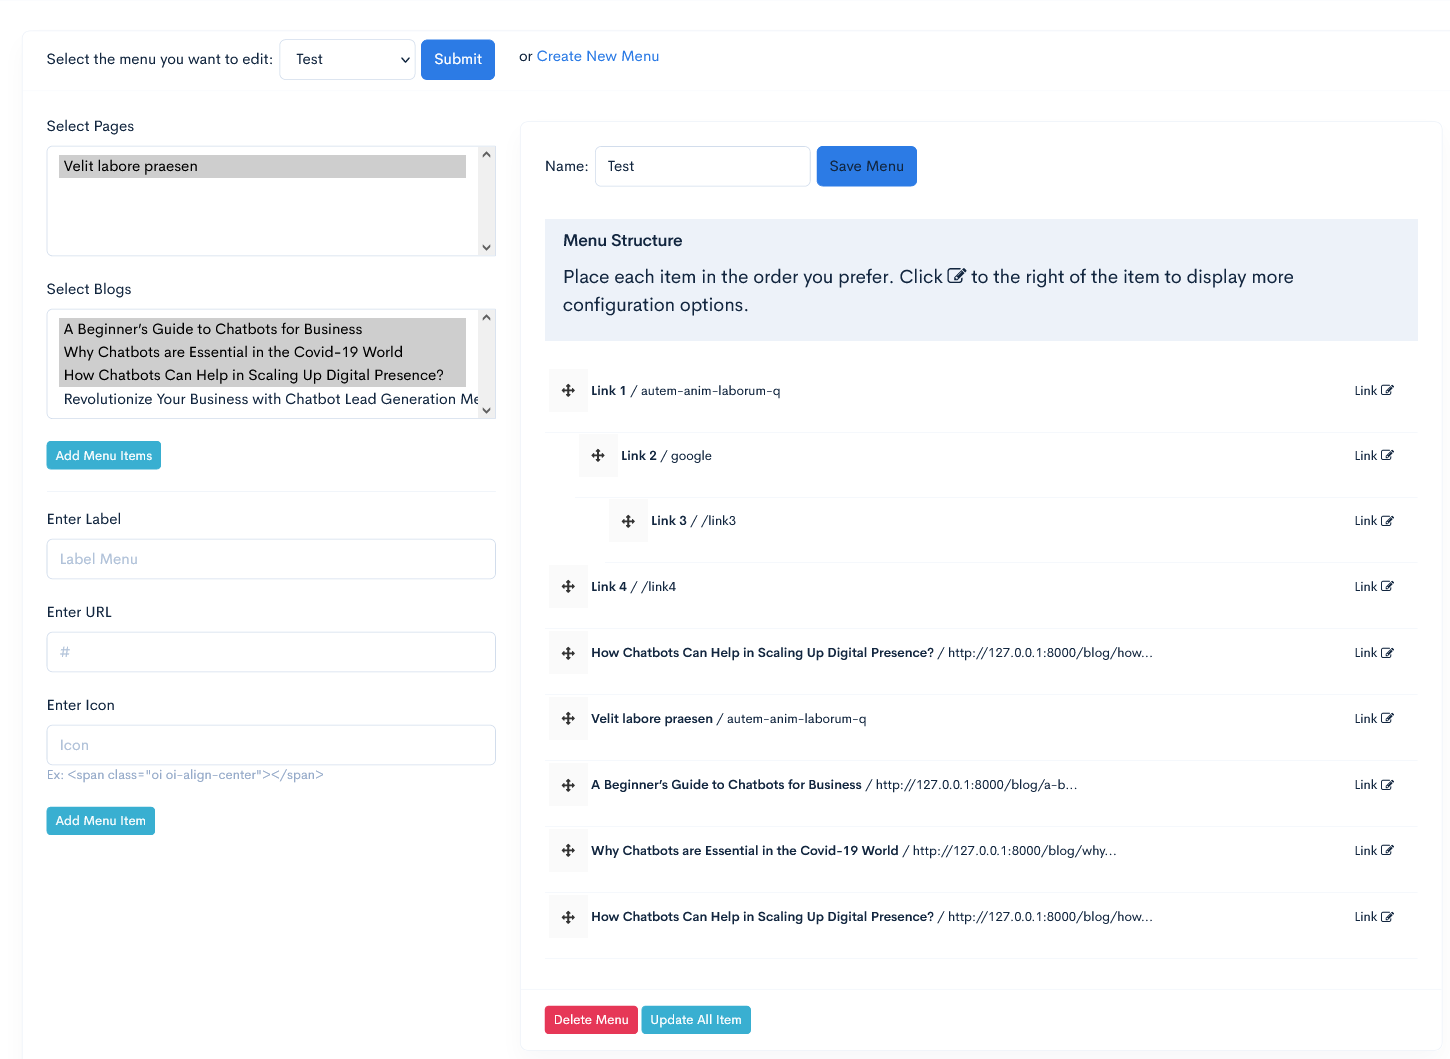
Menu Builder Usage Example - displays the builder
On your view blade file
Using The Model
Call the model class
Menu Usage Example (a)
A basic two-level menu can be displayed in your blade template
Using Model Class
or Using helper
Menu Usage Example (b)
Now inside your blade template file place the menu using this simple example
HELPERS
Get Menu Items By Menu ID
Get Menu Items By Menu Name
In this example, you must have a menu named Admin
Customization
You can edit the menu interface in resources/views/vendor/nguyendachuy-menu/menu-html.blade.php
